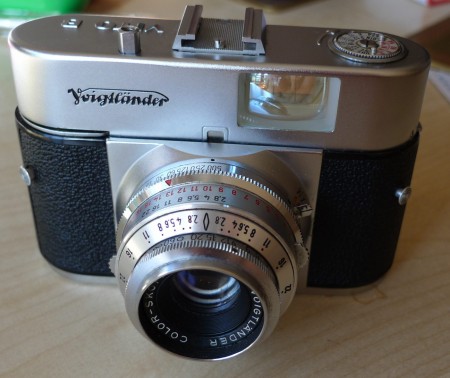
A few weeks ago I found my granddad’s old camera in a box in our attic. Intrigued, I hunted around a bit on the intertubes and discovered it was quite a nice camera in its period. It’s a Voigtländer Vito B produced in West Germany. This is the upgraded model dating from 1956 with a larger viewfinder and a higher quality f/2.8 lens.
Surprisingly in the same box was the original instruction manual so I set about figuring out how it worked. I got a set of prints back today and, astonishingly, they weren’t a complete disaster!
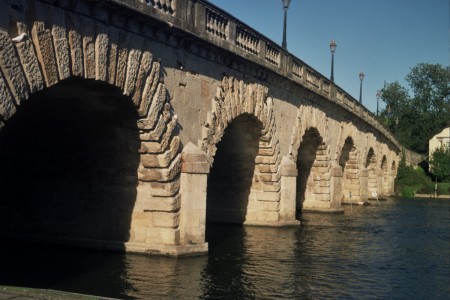
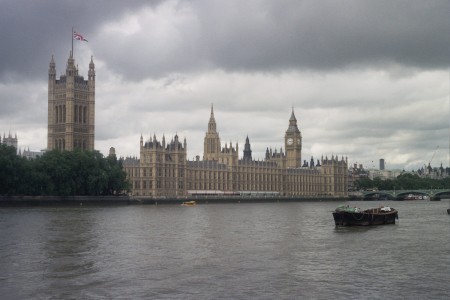
This is the bridge over the Thames at Maidenhead. The Vito B has a fixed 50mm focal length which I initially thought was rather restrictive but I’ve grown to quite like it. The perspective effect is apparently quite close to normal human vision.
The camera is fully mechanical with no batteries or other fancy modern contraptions. This means it makes all sorts of delightful clanking and ratcheting sounds when you use it. The shutter release sound in particular is rather wonderful.
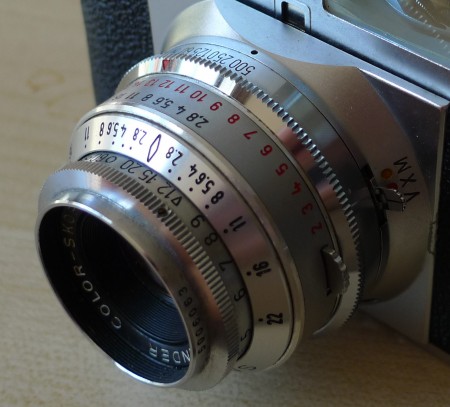
Using it isn’t quite as complicated as it looks. All the controls are on the lens barrel at the front as you can see from the picture below. The first thing you do is guestimate the distance to the subject. There was apparently a clip-on rangefinder for calculating distances, but I haven’t been able to find it if my granddad ever had one. The diamond indicates the selected distance and the clever scale to either side indicates the distance in front and behind the subject that will be in focus for a given aperture size.
The next task is to measure the light level and set the red arrow to point at the correct EV value. In the same box I found a selenium light meter that, when calibrated to the film speed in use, will give you an EV reading. I don’t know how old it is: it is certainly newer than the 1950s. I’m not really sure I trust the values it gives, especially as selenium’s sensitivity to light decreases over time, but it seems to have functioned adequately.
You set the exposure value by pressing in the metal knobs on the side and turning. When the knobs are released the aperture and shutter speed dials and locked together and increasing the aperture size decreases the shutter speed and vice versa, supposedly ending up with the same exposure. This works a bit like the shutter/aperture priority mode on my normal camera. I am rather amateurish when it comes to this sort of thing so setting these values is a black art. I normally picked something that seemed reasonable and sanity checked with my LX3 forced to the same ISO as the film speed.
This one ended up a bit over-exposed but I didn’t really have time to fiddle. Three of the photos didn’t make it back: the thumbnails are marked “underexposed” and the negatives are ominously blank. But all the others looked all right so a 33/36 success rate isn’t bad.
The lever on the right selects self-timed and flash synchronisation mode. Various sources on the internet say the clockwork timer mechanism was notoriously weak and activating it now may jam up the shutter mechanism.
The photos were developed by Fuji Digital Imaging Service in Burnley who seemed very friendly and were highly recommended on the internet. In addition to the prints they send you a CD of high-quality scans, which is where these images came from.
Apart from the single-use cameras I used as a child I’ve only ever had a digital camera, so there’s something a bit odd about having to wait a week to see the results. The time consuming manual configuration and the thought of each shot costing 18p certainly force you to think about what pictures you take. In contrast to my usual snap-happy style :-).
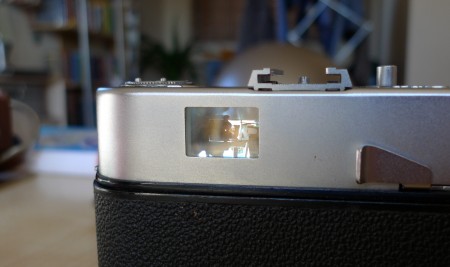
This is what the back of the camera looks like: no LCD! The lever on the right is used for winding on the film. It also tensions the shutter release button, which is in the top right. The dial on the top left pops up when you push a small lever and this is used to wind the film back into the canister. I really like the viewfinder! I’ve never seen the point of them up to now, but I really have enjoyed using this one. Looking into it you can see overlaid frame lines although there is a parallax problem if the subject is close. Unfortunately I found it very difficult to use with my glasses on as it appears to do some magnification, so I usually just took them off.
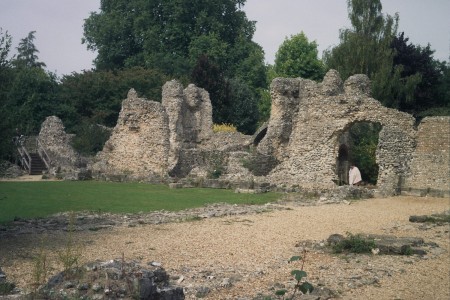
It’s difficult to describe but many of the photos have an old-fashioned grainy appearance which I like. This is Wolvesey Castle in Winchester.
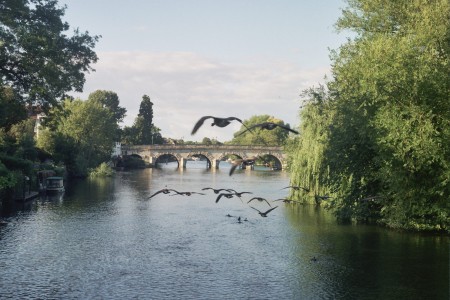
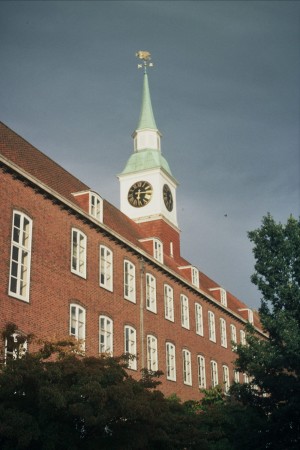
I find it pretty amazing that this camera is over fifty years old yet still functioning perfectly. I wonder whether computers will still support JPEG or SDHC in 2060? Will they still make Li-ion batteries? Playing with this has been awesome fun and I’d encourage anyone else to if you happen to find a vintage camera lying around. Last picture:


 Posts
Posts
looks shiny! the letters are nice om nom nom.
have you really never used a proper film camera? hee. this is strange to think of.
also on boingboing today:
http://cgi.ebay.com/Hasselblad-MKWE-Kit-brand-new-made-NASA-/370426409137
September 17, 2010 @ 7:49 am
> have you really never used a proper film camera?
Yah, it’s true! When I was I child I had those single-use disposable cameras when we went on holiday. Other than that, I’d never had a proper camera until recently.
September 17, 2010 @ 7:58 am